Here it is!
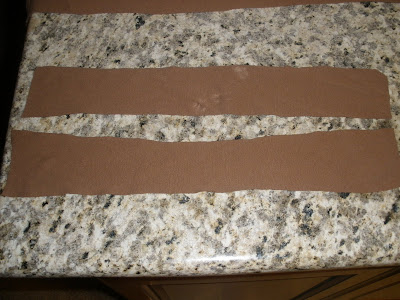
 Take an old T shirt you don't ever wear, that sits in your closet day after daying, begging to be made into something useful. Cut 2 strips.
 13 inches long and about 2 inches wide, lay flat on top of each other.
 Take a needle and thread and start threading through the center of both strips in a straight (ish) line.
 When you get to the end, pull the string tight, that way it scrunches.
 Wrap into a circle.
 Take the two "raw" ends fold togther and whip stitch.
 Should look like this.
 Find spare fabric (left over from project before. Make sure the circle is smaller than "Pedal" and add a brad.
 Take a piece of felt and hot glue onto the back, mine felt flimsy til I did this.
 Flip over and hot glue the "cute" fabric and brad onto the front.
 Add an alligator clip to the back, hot glue onto the felt. WA LA!


